
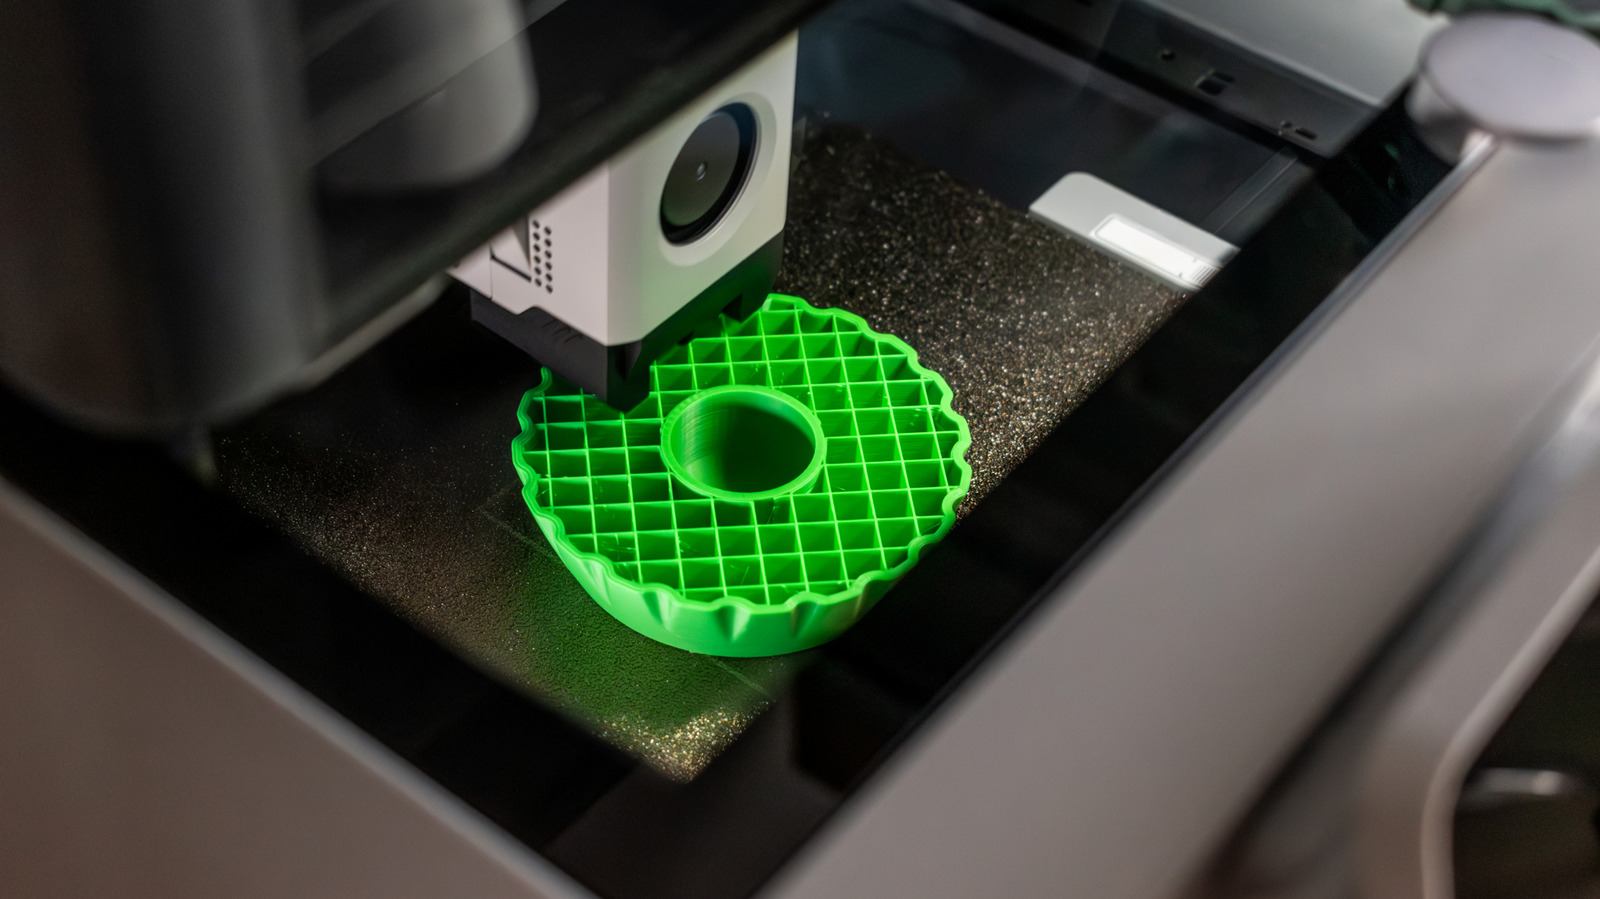
You may have noticed a weird web of lines inside 3D-printed models. That's infill. In FDM or FFF 3D printing, the interior is not solid plastic; the slicer generates an internal structure that supports layers above and adds rigidity without wasting filament. Infill isn't in every process—resin printers tend to create solid models—but for filament printers, infill settings alter print length, material use, and part strength.
Infill density is given as a percentage. A model at 0 percent is hollow; higher density means denser structure. Most models can be printed with 10 to 15 percent infill, according to Prusa, and Flashforge recommends 20 percent as a starting point. These aren't universal rules. A decorative figure might need minimal infill, but a weight-bearing bracket needs more. Even 0 percent can work if the model has a closed bottom that gradually closes toward the top, but a wide flat surface will sag without support.
Higher infill increases filament use, weight, and time. It can enhance compression resistance, but wall thickness, print orientation, and material choice also matter. Prusa points out that more perimeters can improve strength more than more infill. The infill pattern also matters: Grid is general-purpose, Cubic handles forces from various directions, Gyroid offers even strength in multiple directions, and Lightning reduces filament by branching only where upper surfaces need support.
For beginners, the default pattern and moderate density are reasonable starting points. Replace them when the object provides a reason—a display model, electronics enclosure, and load-bearing bracket have different functions, so it doesn't make sense to use the same infill for all three.
Source: Engadget · Summarized by HeadlinesBriefing